
You can reference this Klaviyo guide for more information: https://help.klaviyo.com/hc/en-us/articles/115005258768-Add-a-Custom-Web-Feed-to-a-Campaign
1. Navigate to the Data Feeds tab. If you haven't added a data feed before, you'll see a screen like this:
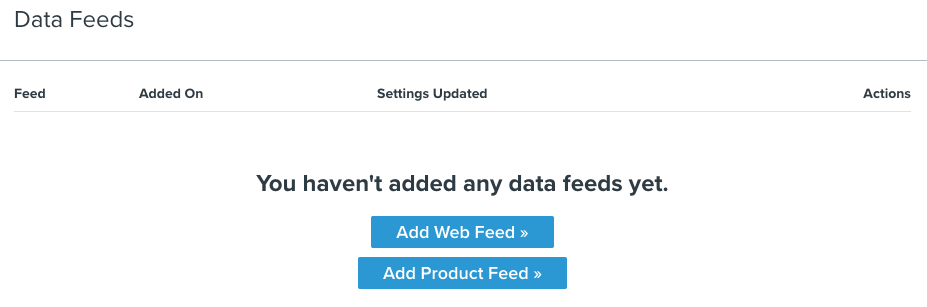
2. Click Add Web Feed.
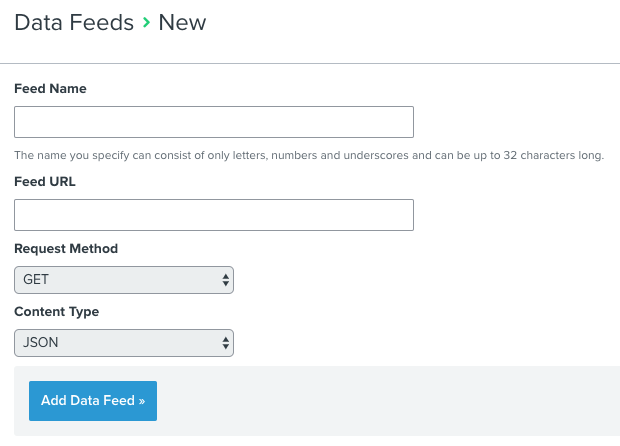
3. Fill in the details:
a. For Feed Name, use something simple like covetpics
b. Your Feed URL will be https://shopify.covet.pics/api/v1/embed/***** - the "*****" is to be replaced with your gallery embed number (found in your gallery's embed code)
For example, https://shopify.covet.pics/api/v1/embed/111111
c. Leave Request Method as GET and leave Content Type as JSON
d. Click Add Data Feed
4. Go to Campaigns
Select the campaign you want to add your gallery to and go to edit the content.
5. Click the Data Feeds button at the bottom of the page
Enable your covetpics data feed and click Save.
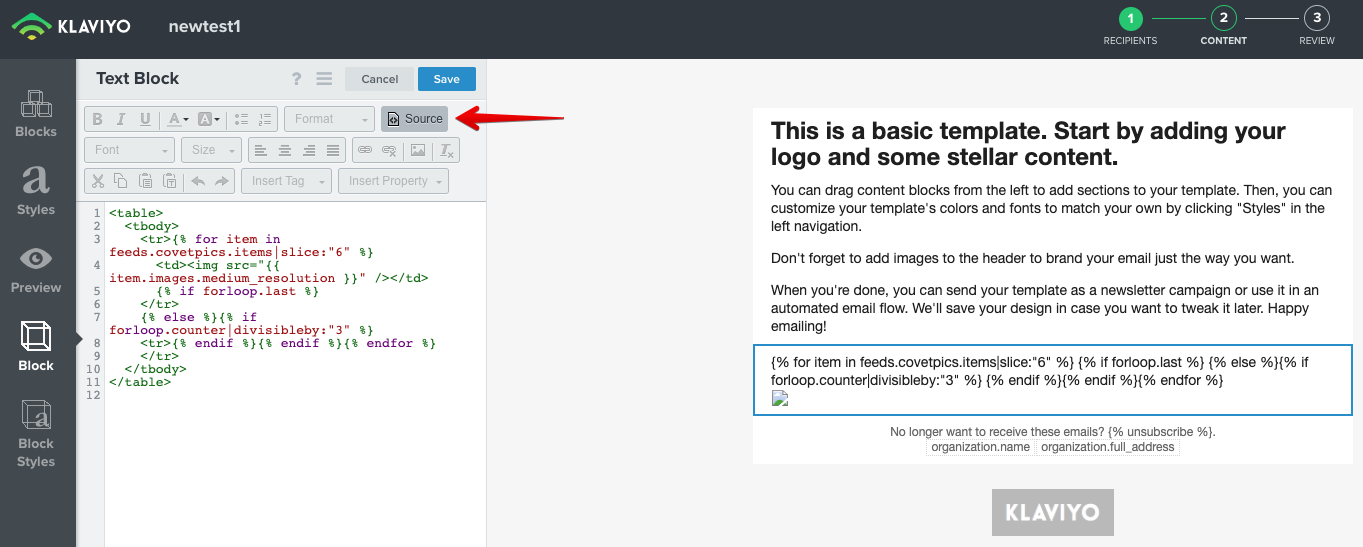
6. Create a new text block
Click the <> Source button in the text editing toolbar and insert the following code for a 3x2 grid layout of your gallery:
<table>
<tbody>
<tr>{% for item in feeds.covetpics.items|slice:"6" %}
<td><img src="{{ item.images.medium_resolution }}" /></td>
{% if forloop.last %}
</tr>
{% else %}{% if forloop.counter|divisibleby:"3" %}
<tr>{% endif %}{% endif %}{% endfor %}
</tr>
</tbody>
</table>
7. Click Save on the text block and then preview.
If you need to make further customizations to the layout, you will need to use a web developer.
Comments
0 comments
Please sign in to leave a comment.